Clothing Daphne
📅 2023-04-26
Today, let’s discuss a workflow I think is both under-discussed, and also very important to ‘Mirrors’ and my future projects in general going forward. We’re doing an outfit workflow from Maya to Marvelous Designer and then to Unity. For those in the discord, I did throw up a little guide that I wrote up for myself in the #Hellmouth channel, while I was learning this particular workflow for November. I’ve had to do it since a few more times for ‘Mirrors’ for both Iris and Emily, and today we have a new character to outfit, which we’re calling for the moment, Daphne.
First thing’s first, I need to close down Unity completely because this workflow is a PC destroyer. We have a model we purchased from CG Agency, who also are the creators of the Emily model, and we’re going to bring her into Maya.
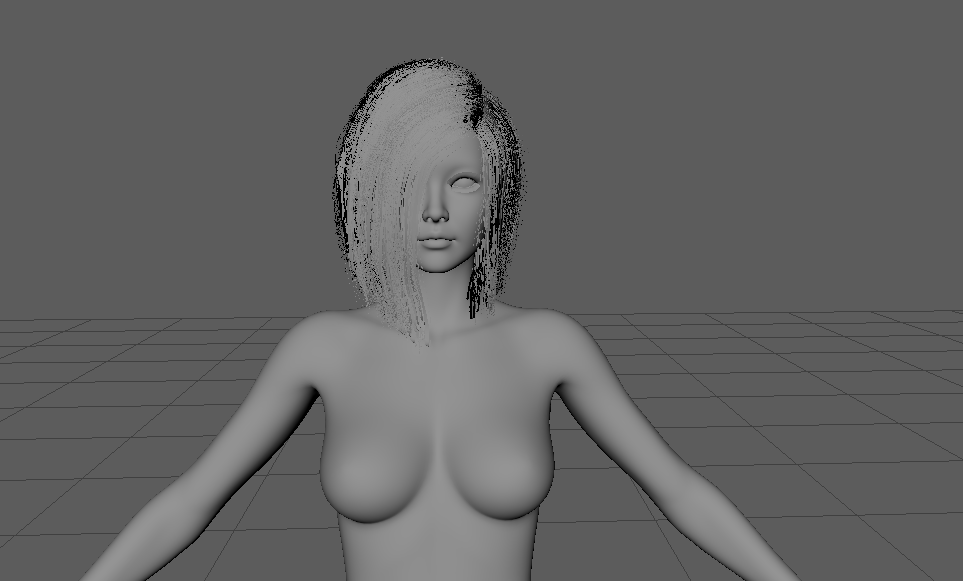
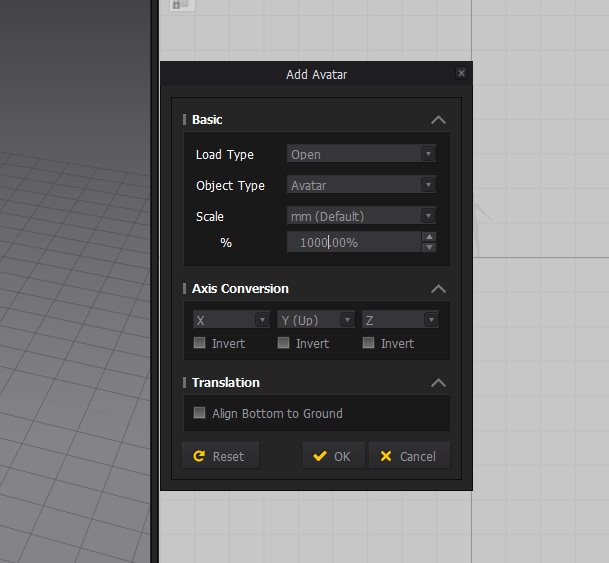
That’s the fucking chaos I’m looking for. So she came completely naked, which is maybe fine for a F95 game, but I think we’re going to need some clothes otherwise. The first step is for us to export this an an OBJ so we can bring it into Marvelous Designer and make it an Avatar. File > Export, and now let’s shut down Maya because MD is a fucking juice hog on my little machine.
We’re going to save her as an avatar for future use, and now let’s import some clothes. I did want a winter jacket off ArtStation, but we can’t really afford that, so I’m going to see what we have from previous attempts at this. I’m going to want her to build a snowman with us, so we should pick something warm.
These… might be a bit big for Daphne. So, error number 1, we imported her Avatar at 100% instead of 1000%, lets redo everything. I don’t know what I was thinking anyway, pants?
Much better. Now, we just need to move the socks around a little to get them in the right position, and also change the particle density of the fabric to something the PC can handle, as well as changing it collision thickness to 5. Marvelous Designer is a wonderful program, but you really need to use it a certain way to get the results you need. The key here, is to arrange the fabric components in a way that will conform to Daphne’s body correctly when we start the simulation.

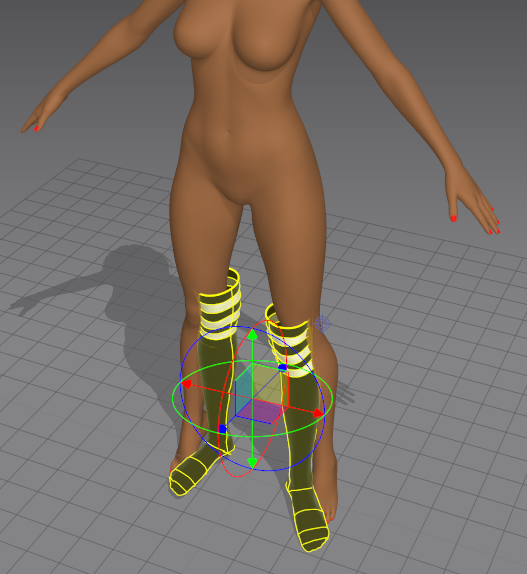
Perfect, lovely. Exactly what I was hoping for. I guess let’s fuck around for another 10 minutes trying to get the base of the socks to sit properly. Of course, the modeler had to give her Barbie feet for some fucking reason. Women are born with heels out of the womb, don’t you know? Oh, I see what might be happening, her feet are pushing through the base of MD’s floor. Let’s move her a little…
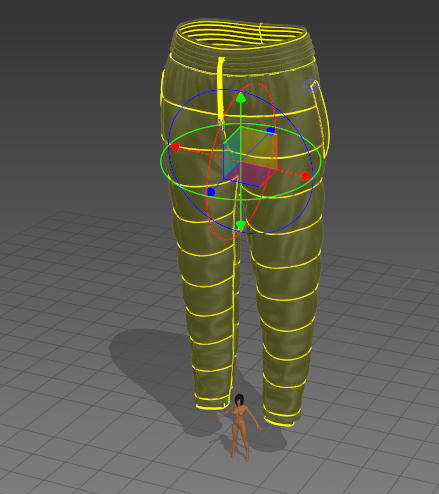
That… will fucking do. Next! I’m going to freeze that layer, and add the next one. Time for the pantsu.

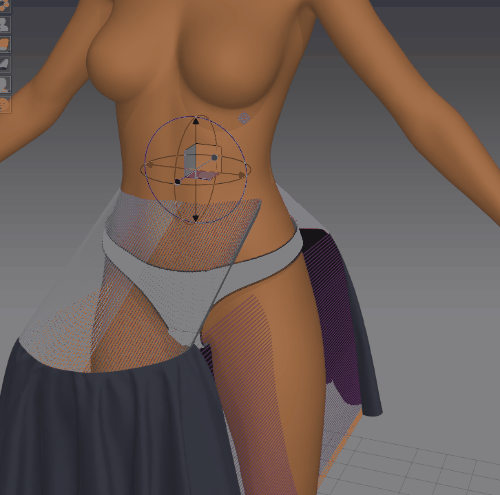
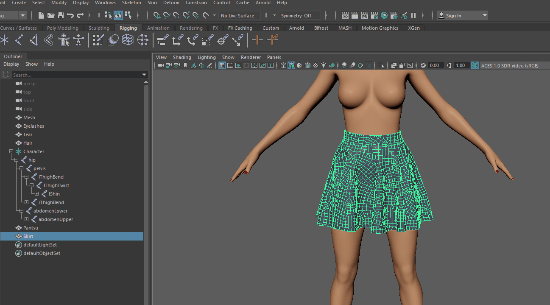
I didn’t explain it in the last one, but basically to make it shrink down and conform to her body better, I changed the weft and wrap shrinkage to make it a little tighter. We’re picking a skirt next, and this will be a shorter skirt purely so later when we bind the outfit we have to fuck around with it less, because the longer the skirt, the more complex the weights get.
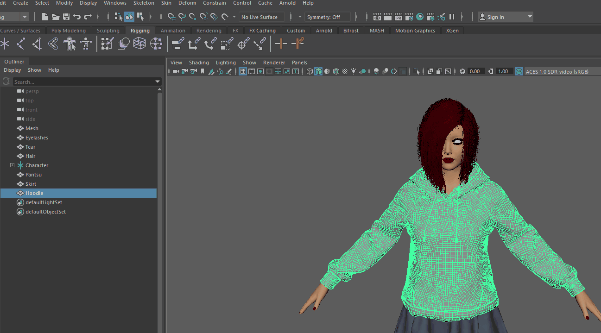
Whoops, forgot to lower the particle density at the start there. You can see what a difference it makes, or at least you can see it a little, since I removed 1/3 of the frames for gif size. Okay, let’s try for the hoodie. Now I already did try the hoodie the first time I ever tried this workflow, and we ended up with a bit of a mess in Unity with model pop through, but hey, its been several months, I’ve learned… at least a little. Let’s try it again.
We’re done with Marvelous Designer, or at least, we will be once we export every single frozen piece out of here one by one so we can bring it back into Maya. We need to export each separate clothing piece as an OBJ. And from memory, we have to delete all the clothing we’re not going to export before every export, so this is a back and forward of ctl+z to undo deletes after exporting. There is an OBJ (Selected) export but I remember that not working well. Here are the export settings…
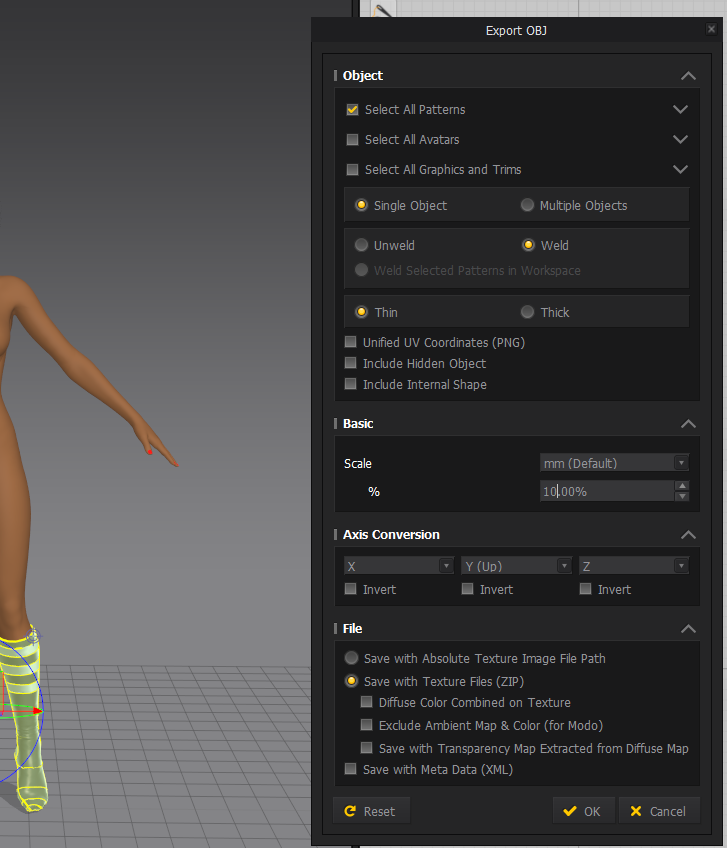
The important ones are Single Object, Weld, and 10% Scale, as well as ZIP so we can get the textures and normals if they exist. 10 minutes later. Make that 20 minutes. This fucking hoodie man - it has these weird floating objects in the scene so I had to keep cleaning it up before exporting every object. 30 minutes. It’s getting late too, this was maybe ambitious.
Okay, we started this hours okay but we're finally back in Maya, the first thing we check is if the rig is still attached to the model, this always fucking breaks for some reason while we move through this workflow, so before we import anything at all, let’s check.
Okay, good, we save a Maya project out now, and we bring in our first piece of clothing, let’s start with the pantsu, since we probably don’t have to worry too much about the weights.

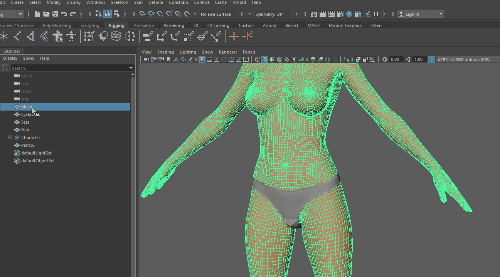
Oh, right, we had to lift the model in MD, hopefully this doesnt fuck us too hard. Now that we have the object in, the process goes as follows. If our clothing is high poly, we can select it and clean mesh, then reduce mesh by about 50%, but these pantsu don’t look terribly high, so we will keep them the way they are.
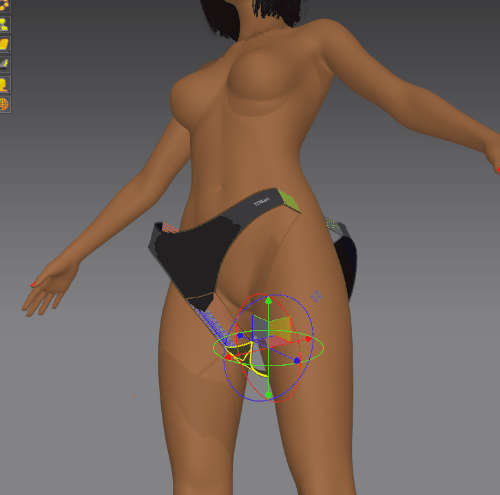
Binding: Then to bind them, we have to select rig > right click > select all hierarchy, select the clothing item, then rigging > skin > bind. The order is very specific, and can get confusing when we get to our weights because click order really shouldn’t matter as much as it does.
Weights: For weights, depending on the clothing complexity, there is a simple method, and them multiple complex methods. I hope we don’t have to do too much of the complex method, because it’s already 9pm. The way it works is, our body mesh already has weights allocated to the body by the moddler/rigger. Weights are essentially which verts should move when the rig/skeleton moves. We want to transfer those weights to the clothing, so it can move and conform to Daphne’s body correctly. Sounds simple. But it isn’t.
Simple Weights: For the simply version, we select the clothing, then the thing we want to copy the weights from, in this case our base mesh, and then click skin > copy weights. Or wait, is it the other way around, fuck. Let’s assume its mesh, then clothing, then copy, because that makes more sense and my notes aren’t clear.
Okay yes, its the second method. Strike out the first line there so nobody gets confused. The correct method is click mesh with weights, click clothing, then click Skin > Copy Weights.
Grabbing her from the thigh twist bone was a weird choice. It made her look pretty funky when testing, but no, it’s working. I did see some weirdness right between her legs with some jagged verts, but I don’t think it’s an issue. Let’s save our project out again and import the next clothing piece.
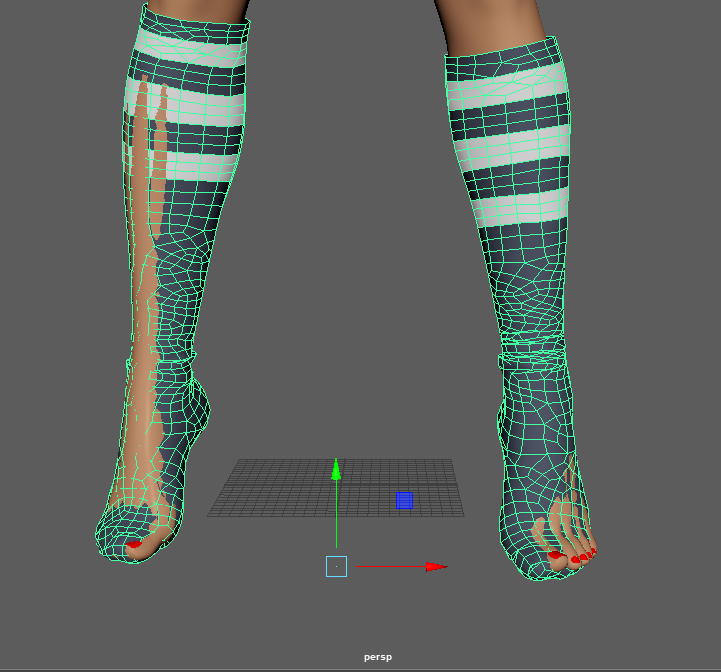
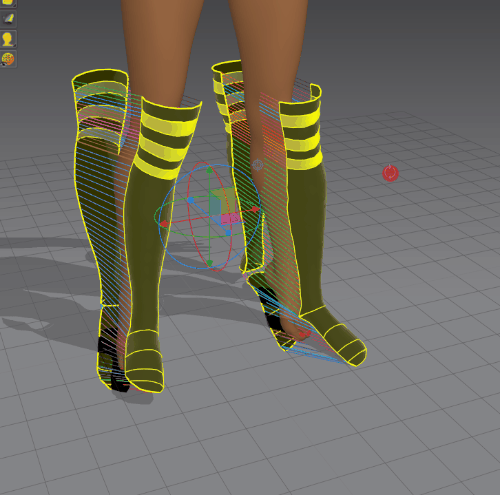
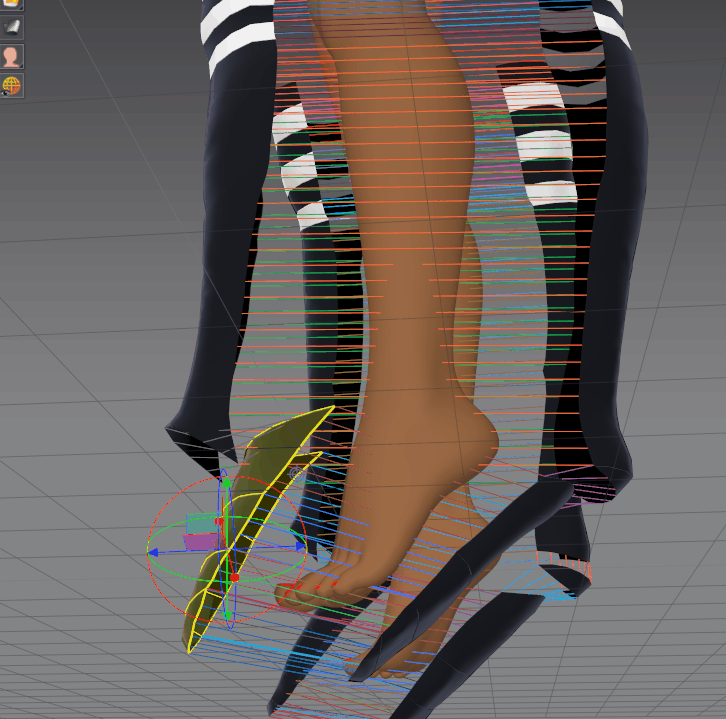
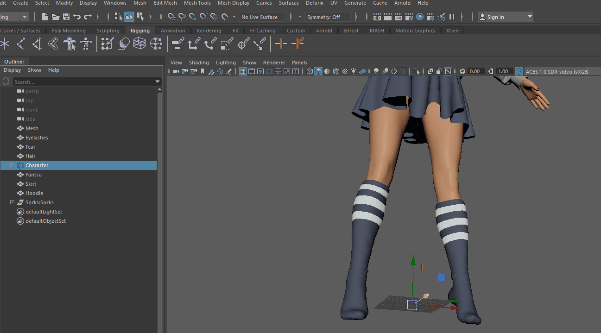
And we have a problem. I don’t know what the fuck happened to the socks but they wont line up. Arrgfh. We will have to go back into MD for those. Let’s do the skirt.
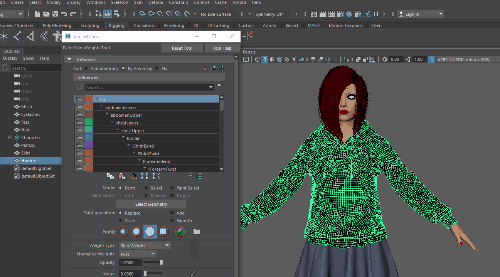
And here you can see where complex weights are needed. As you can see, the weight transfer didn’t do a very good job with the fabric, specifically when we deform the thighs. But, to be honest, I’m pretty tired, so we’re going to leave it that way for now, because we can probably get away with it for my use case with Daphne in this outfit. Let’s just move on to the hoodie, because that’s what I’m most scared of.
One of the complicated methods, for those who know their way around rigging, is basically manual weight painting, which is a huge chore in Maya with my PC, since its super demanding and takes quite a while.
You can see we’re having vert issues here too, but they’re not major ones, and maybe we can fix these ones quickly. The main problem seems to be on the crease right under the armpit, and around her breast. So, I guess lets go into the complicated method. There are two, essentially.
The first is, we unbind, and then grab specific vertices, and try to apply weights manually from the base mesh. This works on large issues but smaller ones like we’re seeing, not so much, because you’re messing with weights blindy.
The second method, is you need to turn on weight painting, then move through the rig piece by piece looking for the right section to change the weights of, then slowly modify the paint allocated to the area.
As you can see, it’s a fucking nightmare.

Mad respect to people who choose to specialize in rigging and weight painting because it’s always been my least favorite thing in the fucking world. Eventually we got a better result, so lets go get our socks and be done with it.
I re-exported, but my fear is they will still be misaligned. I don’t know how they are, either, because I have made sure all Daphne’s transforms are in the right place. Yep, misaligned, okay, let’s just separate the mesh and align them each separately. Pain.
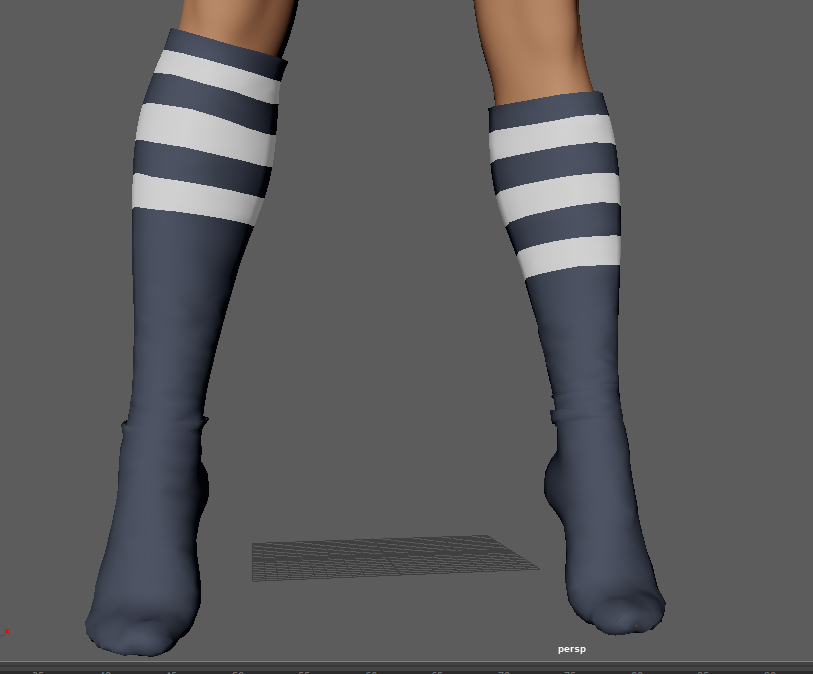
I also scaled them up a little and then scaled down the top hem of the sock so that it didn’t look weird. Larger scale means more space for collision, even though we set that to 5 in MD, so hopefully we’re good now. Let’s quickly bind them.
Whelp, there goes the rig for some reason. Yay, I love you Maya. Okay, let’s reload.
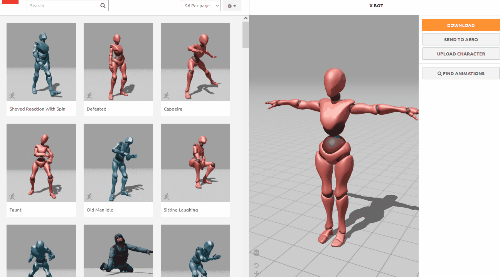
Alright, so when you delete history the rig unbinds. I don’t remember that being a part of any of my lessons, lmao. Whatever, hopefully the history doesnt fuck with my model? I’m going to throw our final model FBX export into Mixamo and see what happens.
Awesome, I knew those fucking socks would fuck us. Okay, let’s go back to Maya and see how to delete that history without losing my rig. Fuck it, let’s just press delete on the history, it turned my socks green but that should be… fine? I uh… I don’t even know what would cause that, did we delete the unwrap? Fucking Maya man. That could mess with us in Unity, let’s see if it even works in Mixamo. It’s 10:30PM and I just want this to be done. It’s just processing forever, come on Mixamo do something.
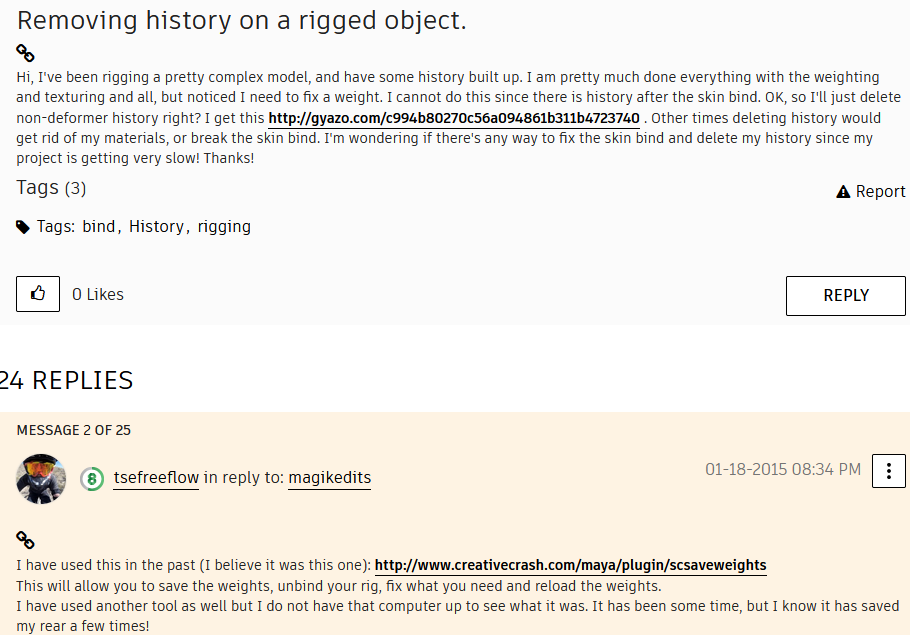
Nope, it didnt work. Okay, that post says specifically “Non-Deformer History”, so let’s try that, and see if it destroys my rig.
Okay, it didn’t? But will it work with Mixamo. Come on, Mixamo, give me a win. Hmm, didn’t work. Okay, let’s just load her base rig into Mixamo, then grab an animation, import it into Unity, and apply it to Daphne’s FBX with the clothing. Finger’s crossed.
Oh, nevermind, the base model won’t even load into fucking Mixamo. So that one isn't on me. What the heck? I don’t even know what I’m doing anyway, I have animations set up in Unity already, and its a Humanoid rig so… it’s been a long day, let’s just go try it out in Unity.
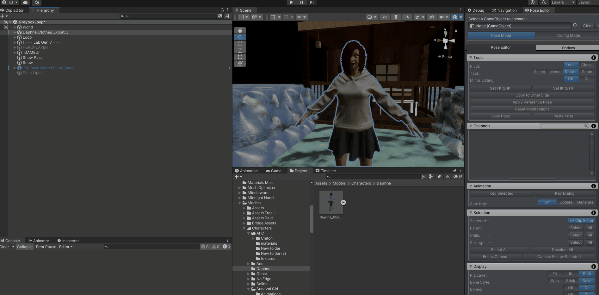
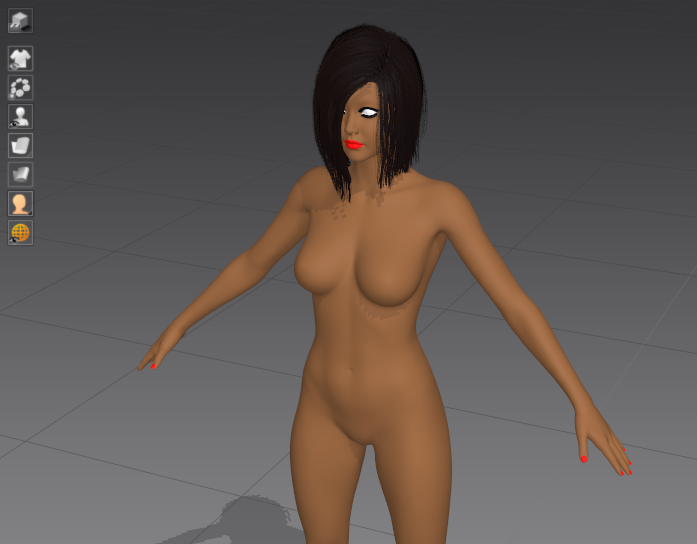
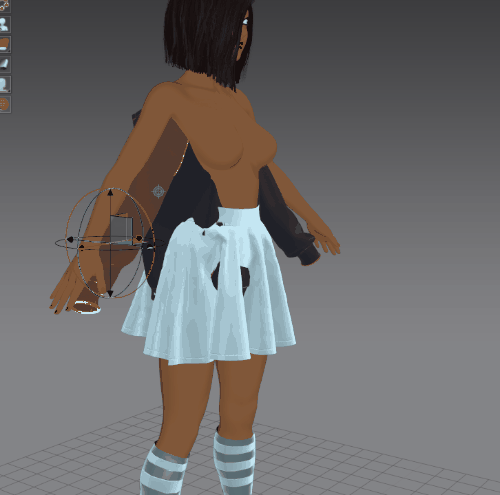
Well, there’s clipping issues on the arms still, and she’s still on her tippy toes, but I don’t know about you I’m calling that a win. The jaw animation thing is some sort of quirk in the model > anim conversion, but it's easy to fix, just strip out the jaw key frames from the anims. As for her feet, I’ll just have to reanimated them. Also, obviously she doesn't have her proper textures yet, it's all work in progress all the time. But. But a clothed Daphne is now in, and that’s enough for the night.