Cheesu!
📅 2023-05-10
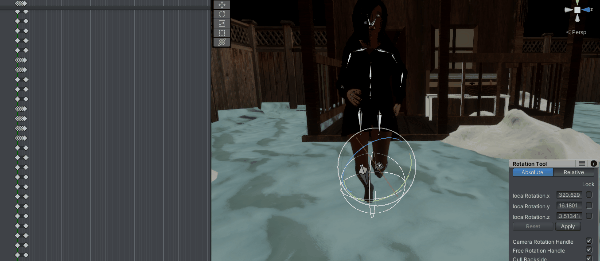
As Hex was streaming today, I took a bit of a backseat approach to working in the engine, and figured I would fix something that has been a problem since we imported Daphne as the player character in the snow section. That is, her animations. Due to the model having pre-positioned “heel” placement in the foot and toe joints, all of the pre-existing animations when applied to her humanoid rig, were oddly positioned and caused a lot of jank in her overall movement. This could have been avoided if - when importing her model for the first time in Maya - we fixed her joint placement and zero’d it out, before we imported her clothing using Marvelous Designer. But as that didn’t happen, it means we now have to do damage control to fix the issue.
Unfortunately, due to the complexity of the pre-existing animations, I found it hard to simply go in and delete the affected key frames, since it affected her shin and thigh joints as well, twisting strangely as she walked. I would have to manually keyframe most of the animations from the waist down, and it seemed a waste of time. Instead, I decided to go onto Mixamo and download a new set of animations to match our current animator blend tree.
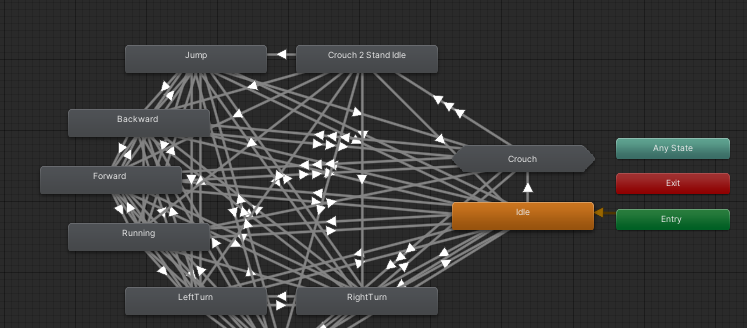
I miss the blend tree we made for November, it was so clean and well constructed compared to this HFPS noodle farm. I will have to clean it at some point, but for now we just want to replace all the animations in the tree so we can fix her movement. It was 12 animations in total, minus the ladder climb, since we won’t be using that for Daphne. And I found some simply Mixamo animations that would work well for our needs, with the exception of the crouch behaviors, since none of the ones on Mixamo are very good. I’ll leave that for future Riot to deal with, but what we have now is - in the very least - useable. I imported them as Humanoid animations, and threw them into UMotion - and thankfully, only the feet where messed up, not the shins or thighs.
So, I got to work, and deleted the errant Jaw keyframes, which for some reason always come in with a strange position in Humanoid, then deleted all of the left foot, right foot, left toe, and right toe keyframes in each animation, before quickly skimming through and trying to fix the placement to make it look natural.
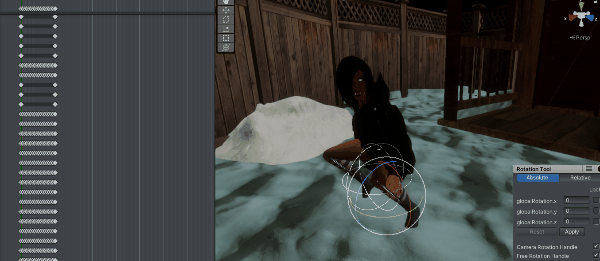
This took a bit of time, but it was busy work and easy enough to do while engaging in the stream. I then had to transfer our event flags from the old animations to our new animations so our footsteps would work correctly, a little time consuming but also fairly easy.
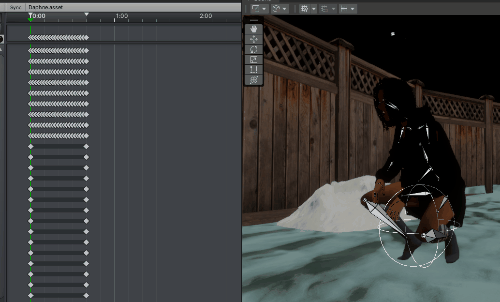
Then, after an export of the animations, we plugged them into the blend tree and gave it a shot. For the most part, they look great, again with the exception of the crouch - due to both the Mixamo model holding a bow, and also crouching at a 45 degree angle for some reason, along with the poor weights on Daphne’s skirt. There does seem to be some slight transition issues I may need to go in and adjust, but let’s not forget it is a first person game, we can fudge some of the details. Most first person games barely have a model, let alone animations.
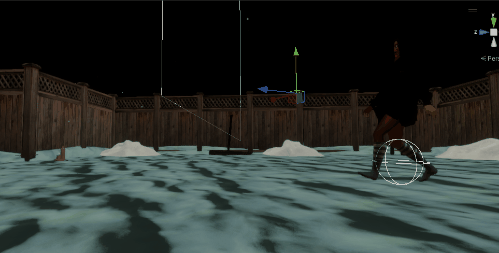
Much better. I’ll need to try and source some crouch anims that work better but otherwise I think we’re good. So now that Daphne is looking her best, let’s do something fun. While watching Hex eviscerate Nazis today in Wolfenstine, I had the idea to create a Photo Mode for our game - not necessarily for the player, but for dev purposes it could be very useful, for promotional shots, screenshoting for devposts, that sort of thing, and we could always include it as a hidden feature in the game if we wanted to. Or fully flesh it out and include it just as a standard feature.
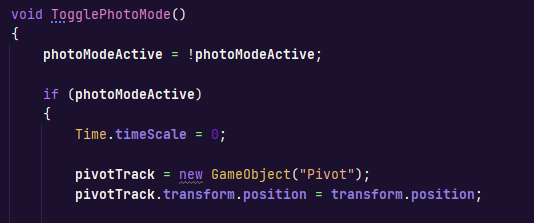
So where do you even begin? Well, I didn’t want to mess with my current in game camera, both because that could lead to some fuckery when moving between first person and photo mode, and because there are a ton of systems tied to how our mouselook works and all of its dependencies. For this reason I decided I would simply instantiate a new camera when we press the Photo Mode, and then turn off our current camera, and set our overall timescale to 0 to create a paused game scene.

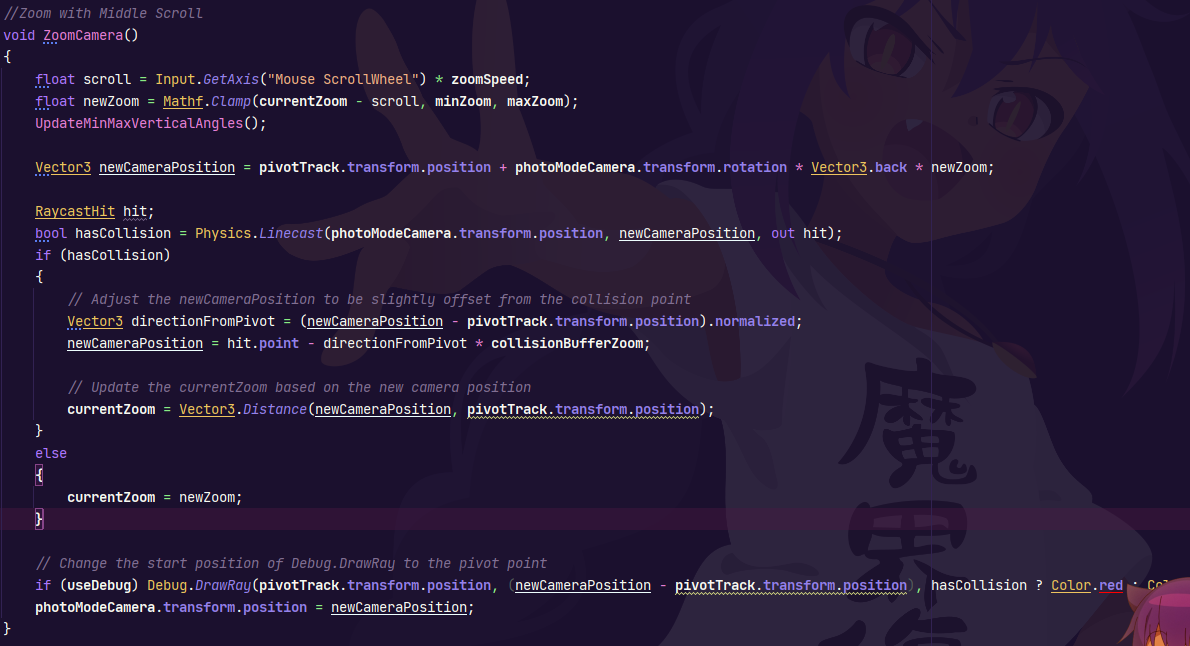
Then to move around, we just needed to pass in our mouse input and plug it into a RotateAround centered around our main character, and since this script is on our player character, we just use the scripts transform. This works for horizontal movement, but what about vertical? Afterall, we wouldn’t want the ability to go all the way around along the vertical axis, since then we would end up upside down on the other side of Daphne, when pushing along the vertical axis too high. So I clamped our vertical movement with a minimum and maximum verticality to create restrictions. I also wanted to zoom while mouse scrolling, so I implimented a basic move toward and move away from our transform position when scrolling.
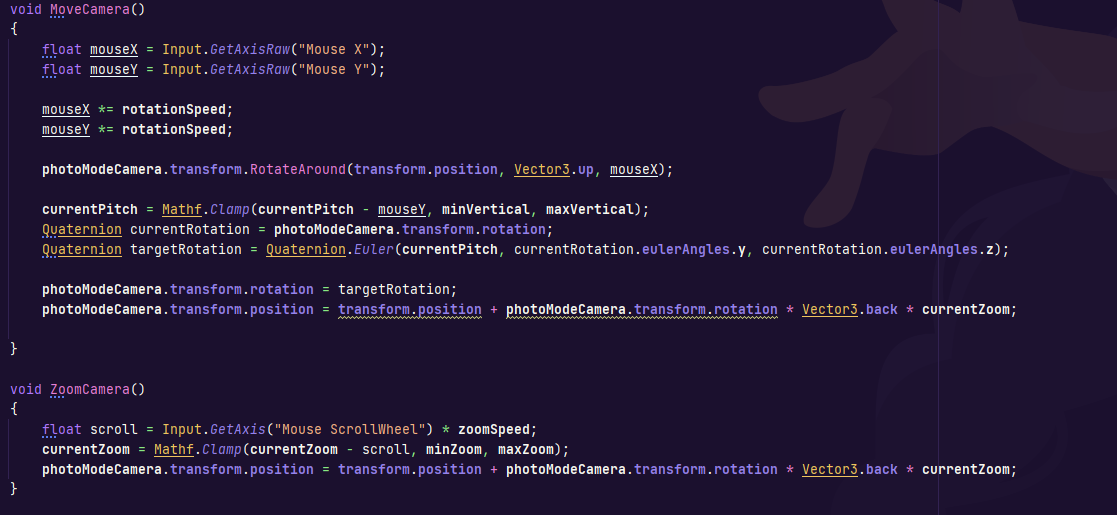
There was a little bit of back and forth here to get this feeling right, but once it did, I wanted to add a panning feature. Basically, hold down the mouse wheel, and move the center pivot point so we can scan the environment and frame our shot. This… should have been simple, but it really wasn’t, and it was because I made a major oversight in my intial designs, and it took over an hour to realize what was happening. The way I designed the panning wasn’t too complicated - we defined a new vector3 based on our current position multiplied by a pan offset, and clamped these at a predefined amount on either end so you couldnt just pan into a different zipcode.
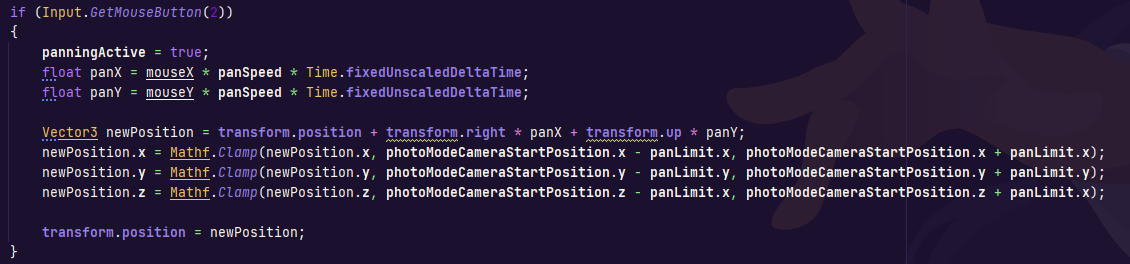
Looks legit, right? This should work, at least, that is what I told myself over and over as I got absolutely zero response from our pan controls. In the very least, I should have gotten some movement, even if we needed to tweak it later, why wasn't there ANY movement? It took me an embarrasingly long time to realize that the center pivot that I was trying to move so our camera would pan - was our player character, since the script was attached to her. She, of course, could not move, because her character controller was being frozen by the timescale, and even if she did move, that isn’t what we would have wanted anyway. Dumb mistake, but eventually I realized why it wasn’t working, even if it should have been a super quick catch.
So, what I did, and something I do more and more these days now that I know how, is programatically just created a gameobject for us to use, and set it to our transform.position, I then simply moved that when we pressed the pan button, and voila, working pan.
In the past, and as recently as november, I would child all these fucking empty gameobjects and throw them into my character scripts as transforms to help control my cameras, when I could have just created them programatically when needed. Both “new Gameobject(“”)” and “transform.AddComponent<>();” have been things that I desperately needed to know but never had the opportunity to learn, until I started coding with ChatGPT’s assistance. I’ve picked up such a crazy amount of coding since using GPT, it really is unbelievable how much more I enjoy code now because I went from ignoring complex code I didn’t understand online, to asking GPT how it worked, and learning it over a few message turns. Regardless, with out new pivot, we had a basic camera mode working, with zoom, pan, and rotation.
The next step, I will only briefly cover for the sake of brevity, since it took a lot of fucking around, and since I want to go watch Evil Dead Rise. Camera collisions. From the scripts humble beginnings, to a clusterfuck of raycasts and debug lines to try and get it all to work. I went through four or five different attempts here to get it working, since controlling for collisions can be a semi-jank process. At first I shot a ray down from the camera, and tried to check for the floor - this worked but we could sometimes get stuck under the floor if the check for some reason didn’t work in time. Even when that was working, what about the other 5 axis of movement for the camera? Up, down, left, right, forward, and back?
In the end, this was the method I ended up using for the collision checks. I wanted something a little more elegant, since I cut my teeth on camera collision raycasts back in college, but it does the job. In stress testing it, it will need some work, it occasionaly has issues for seemingly no reason, but for the most part it works.
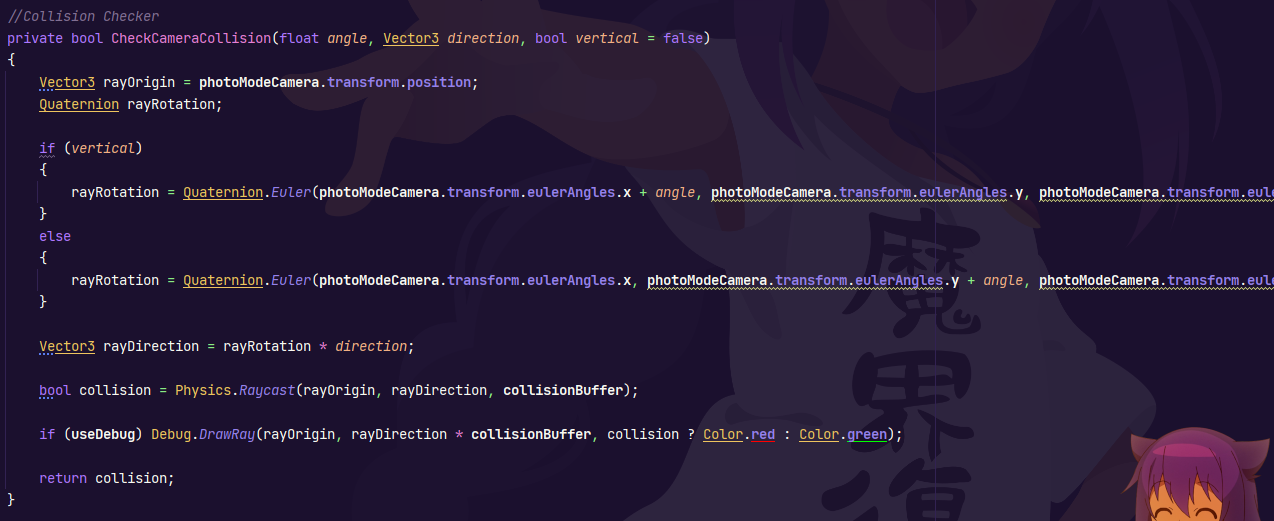
This gets called in our MoveCamera seperately depending on which direction we’re moving in, stopping our movement if the check returns false.
We use a separate raycast altogether for the Zoom function, so that instead of cutting movement if we fail the check, we just move to the closest point we can, with a minor offset. Now no floor could stop us! Ironically as soon as I started to capture the gif for “No Floor Could Stop Us” I instantly passed through the floor, but that was because my collision buffer had been reset for some reason.
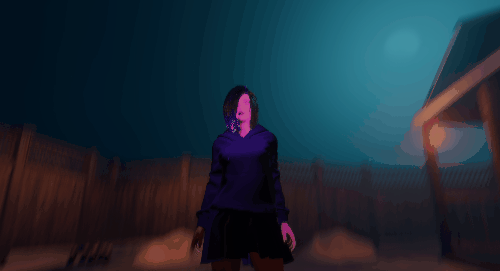
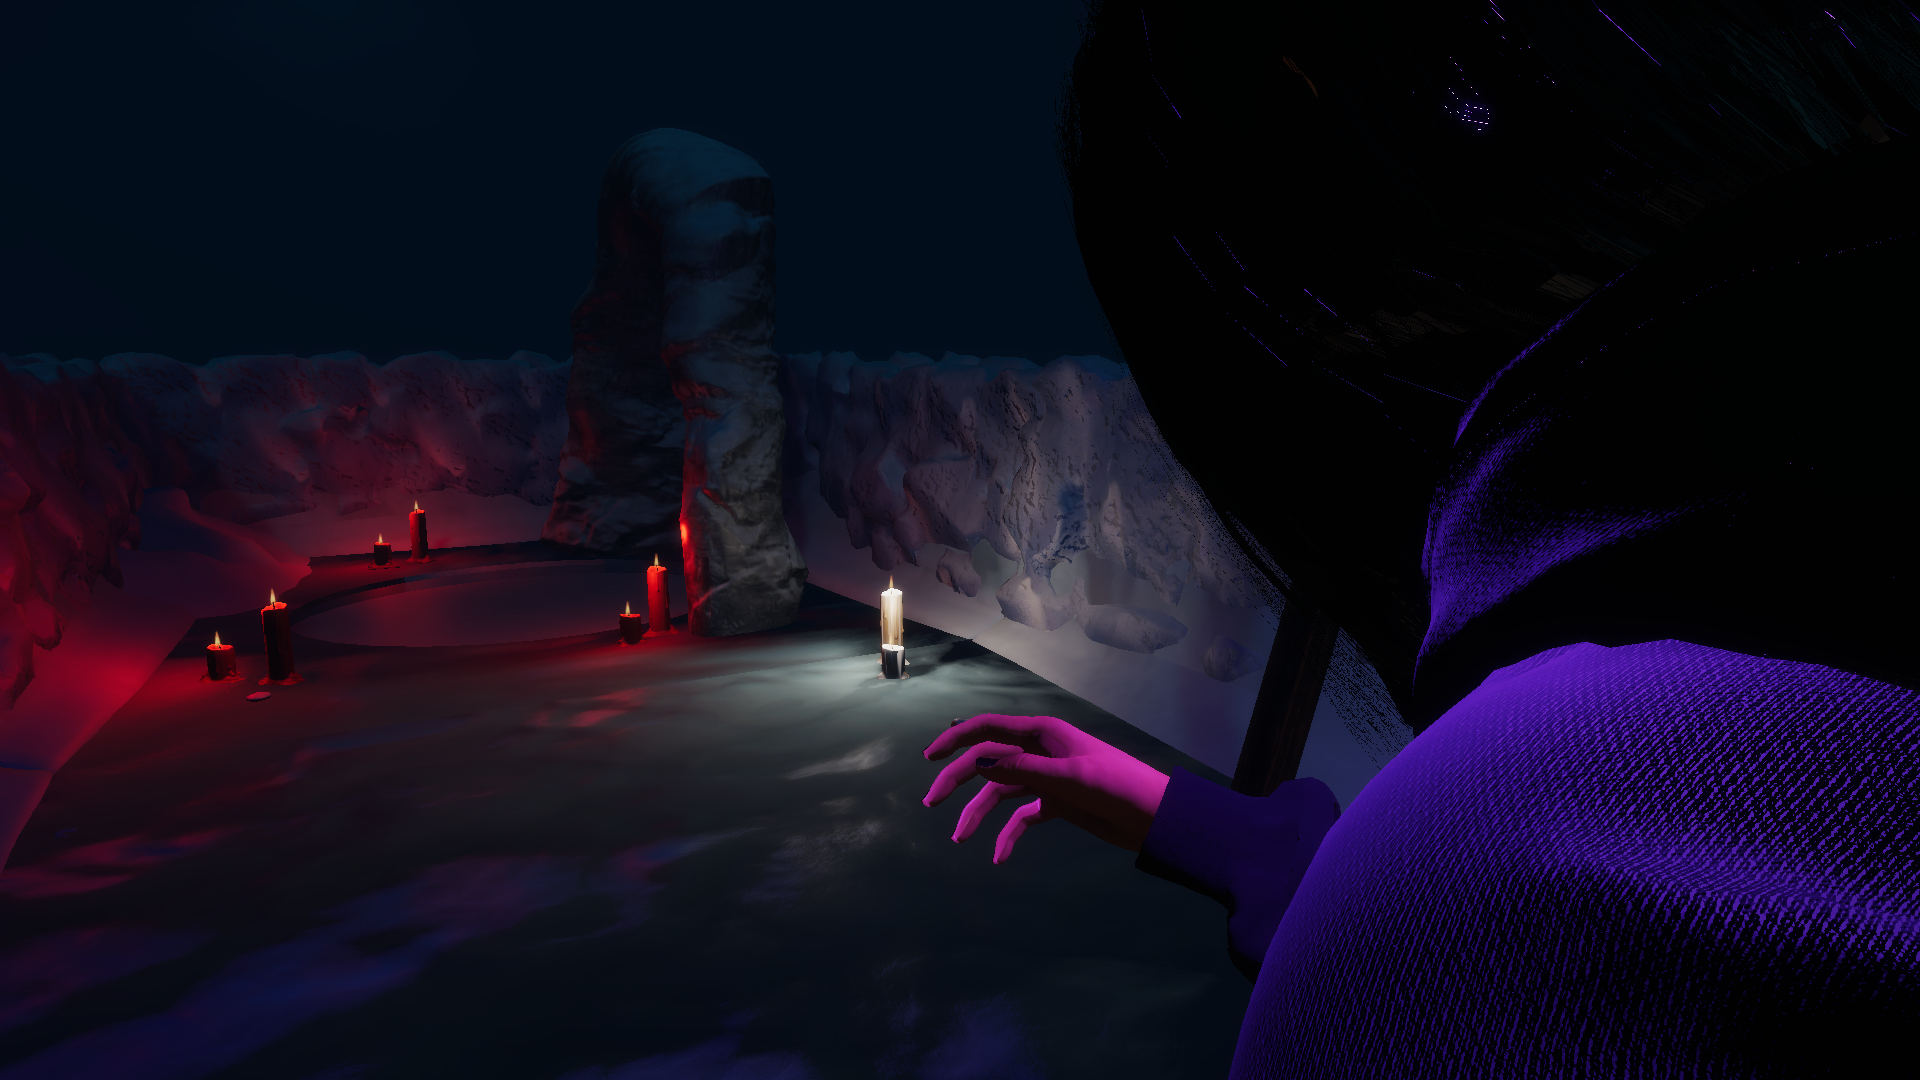
But hang on, isn’t a photo mode supposed to… you know, take photos? Ahh, well oddly enough that was one aspect I forgot about till way later than I should have. And this, I had no idea how to tackle. I figured there would be some discussion online about how to take screenshots within Unity, but hey, ChatGPT was also around, and the first thing it gave me worked like a charm. It throws the screenshot directly to desktop, which may not be desireable for most people but is sort of perfect for me. If we do later flesh this out, we’ll probably just have it pump it out to a ‘Screenshots’ folder in the build folder. As you can see I also added a sound just for feedback since I didn’t want to code a flashing image or anything just yet, and attached the function to our left mouse click.

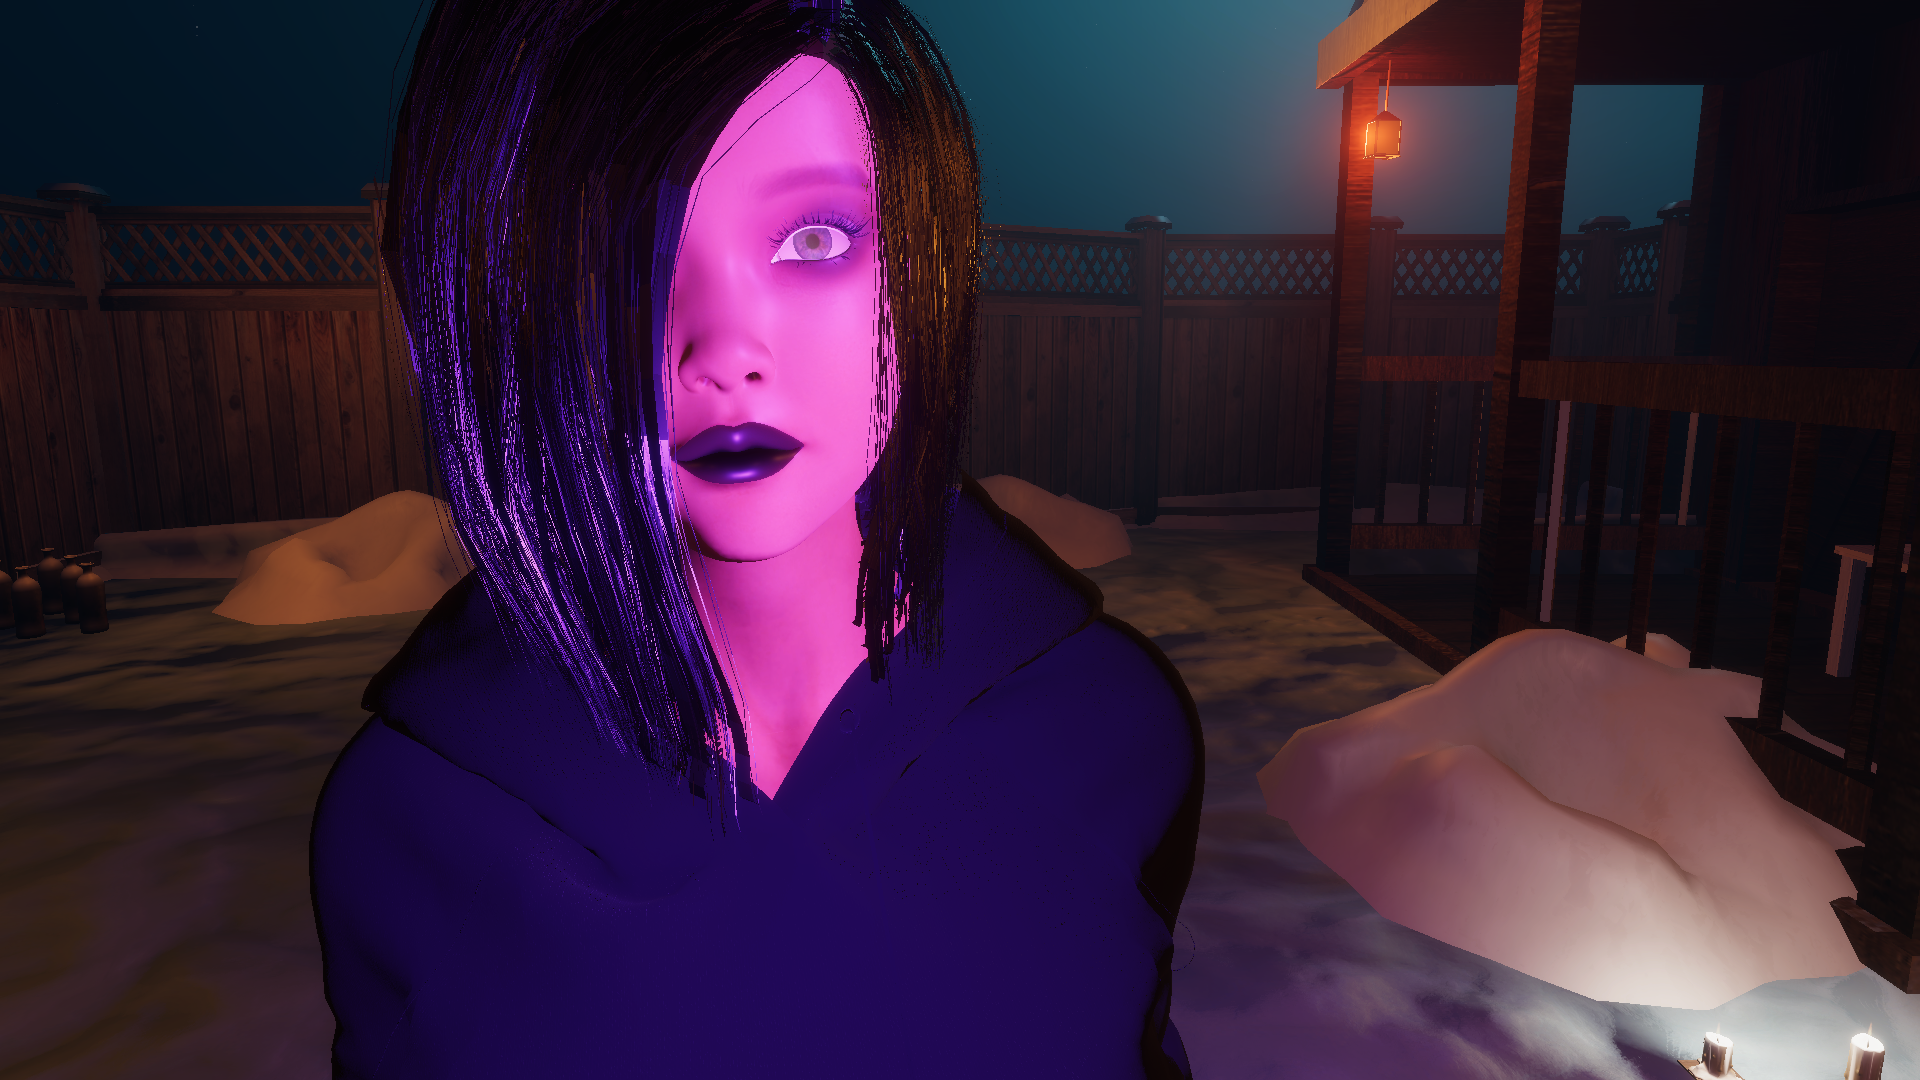
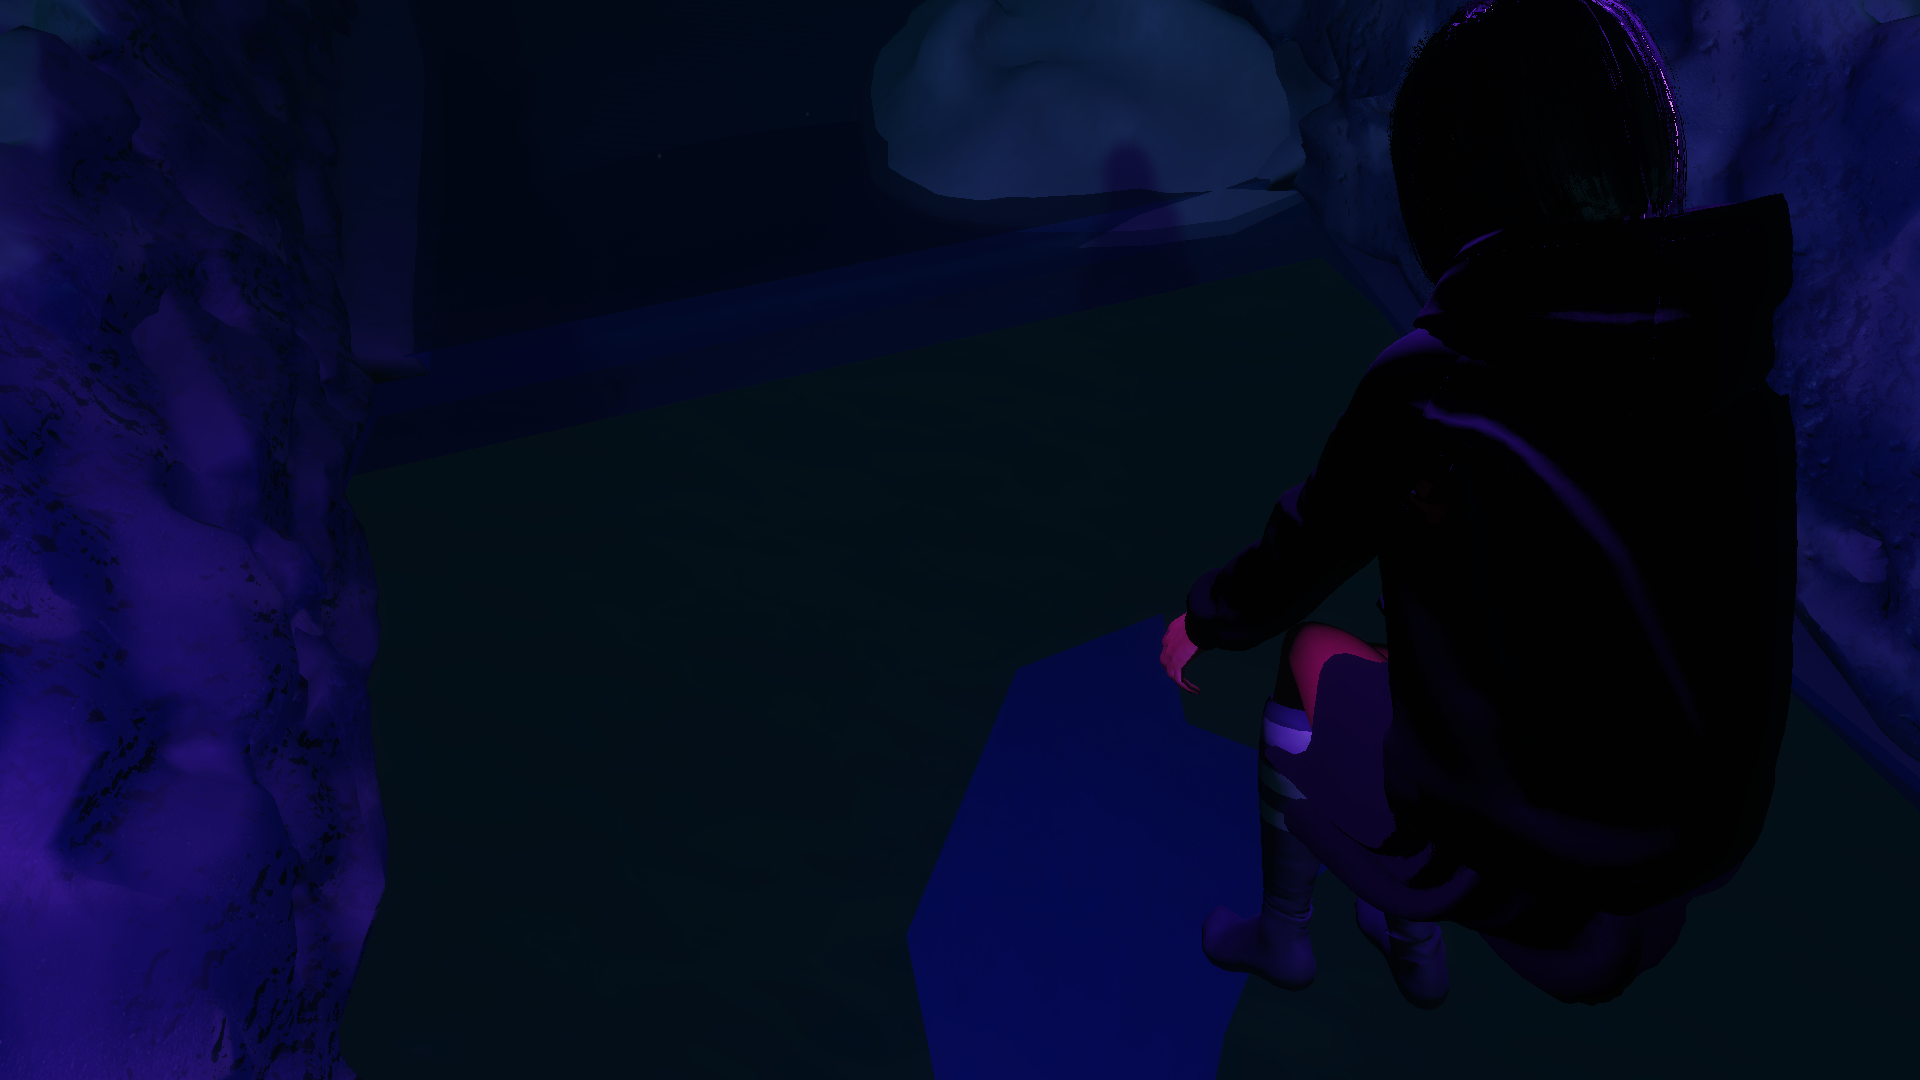
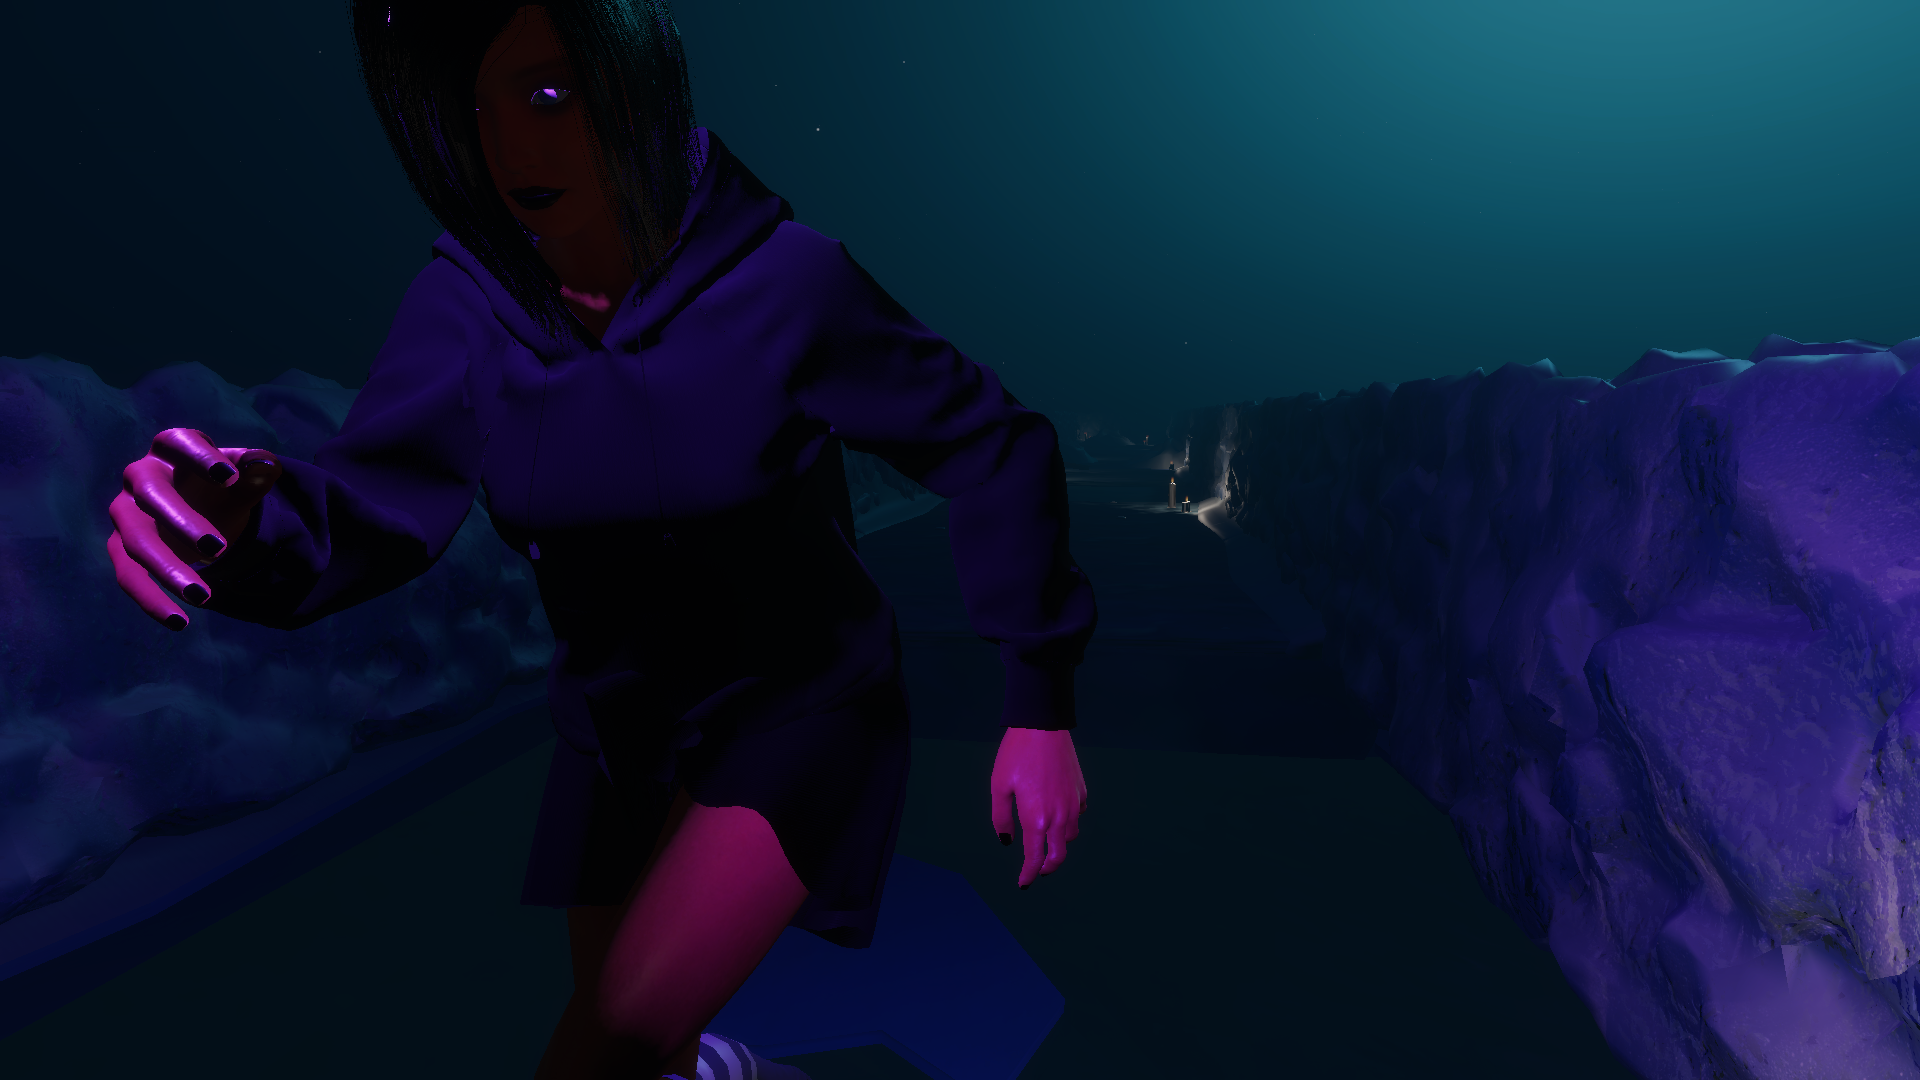
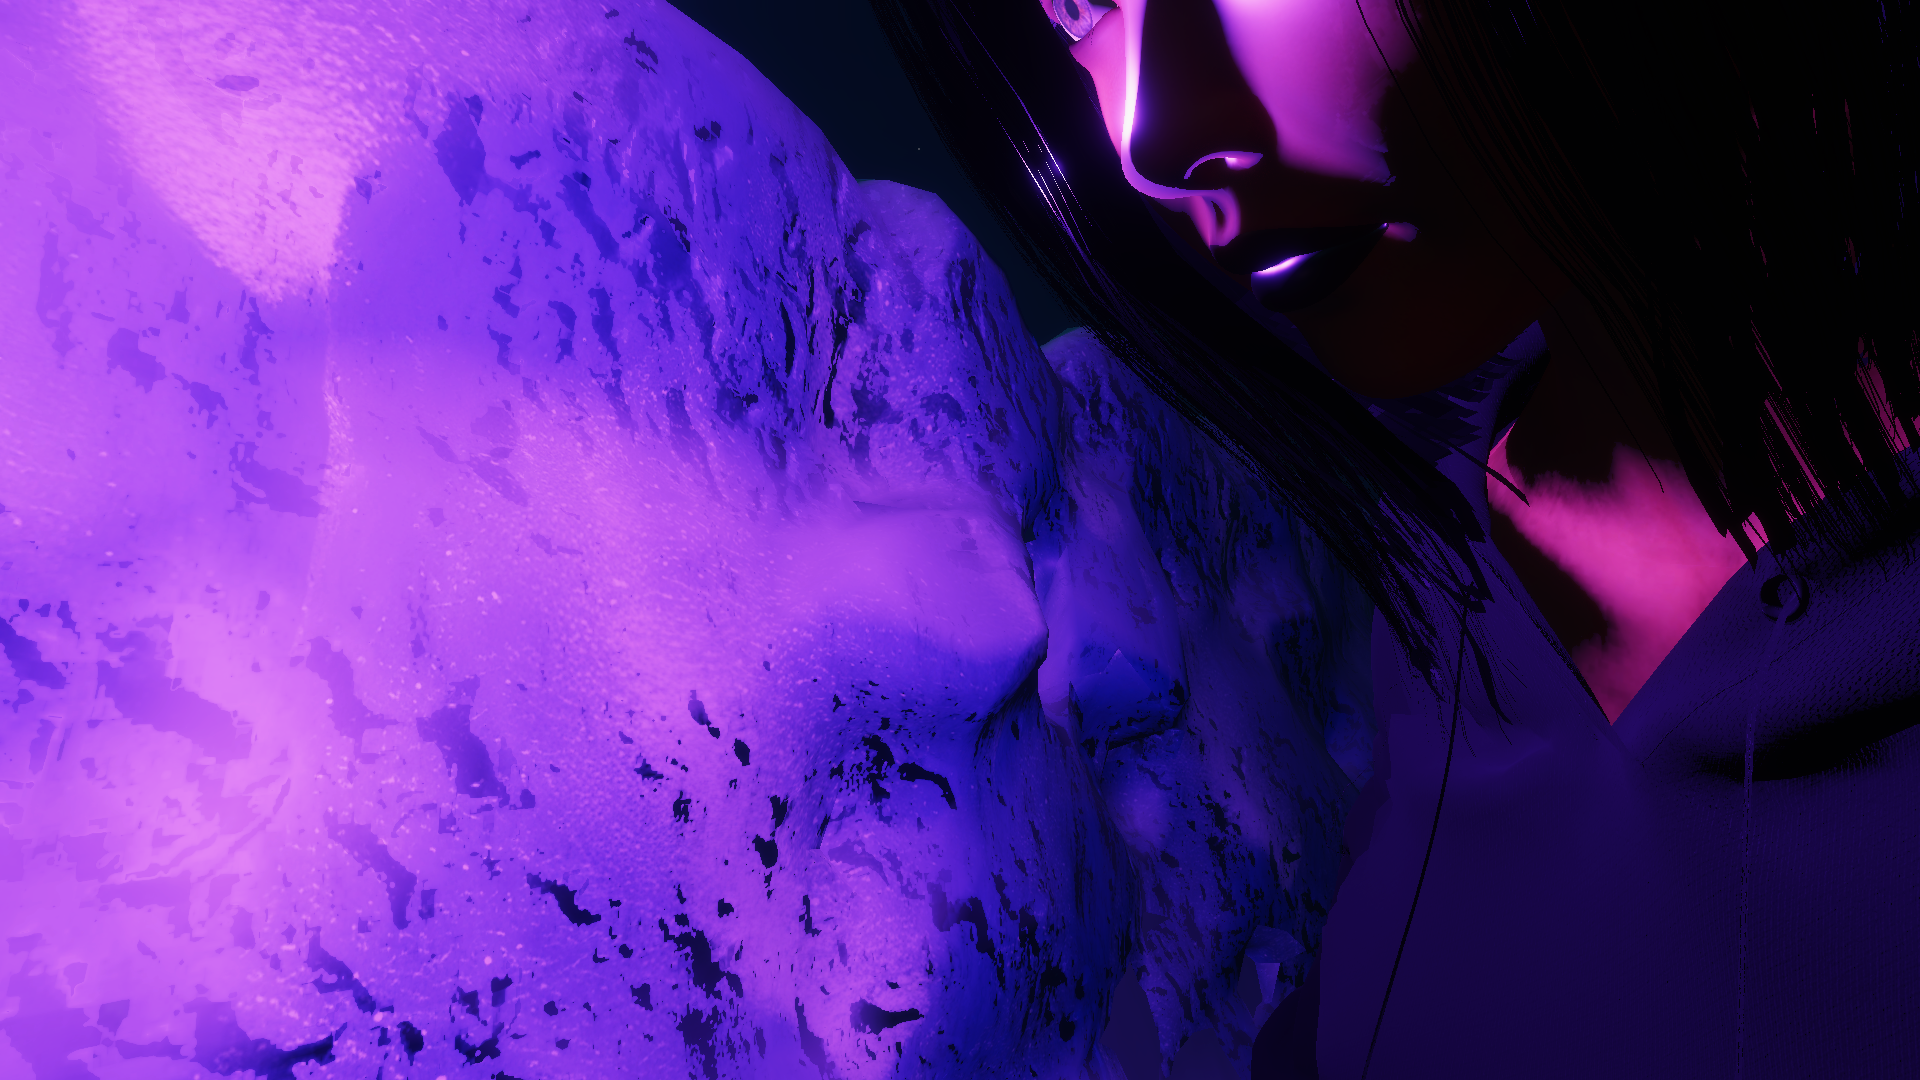
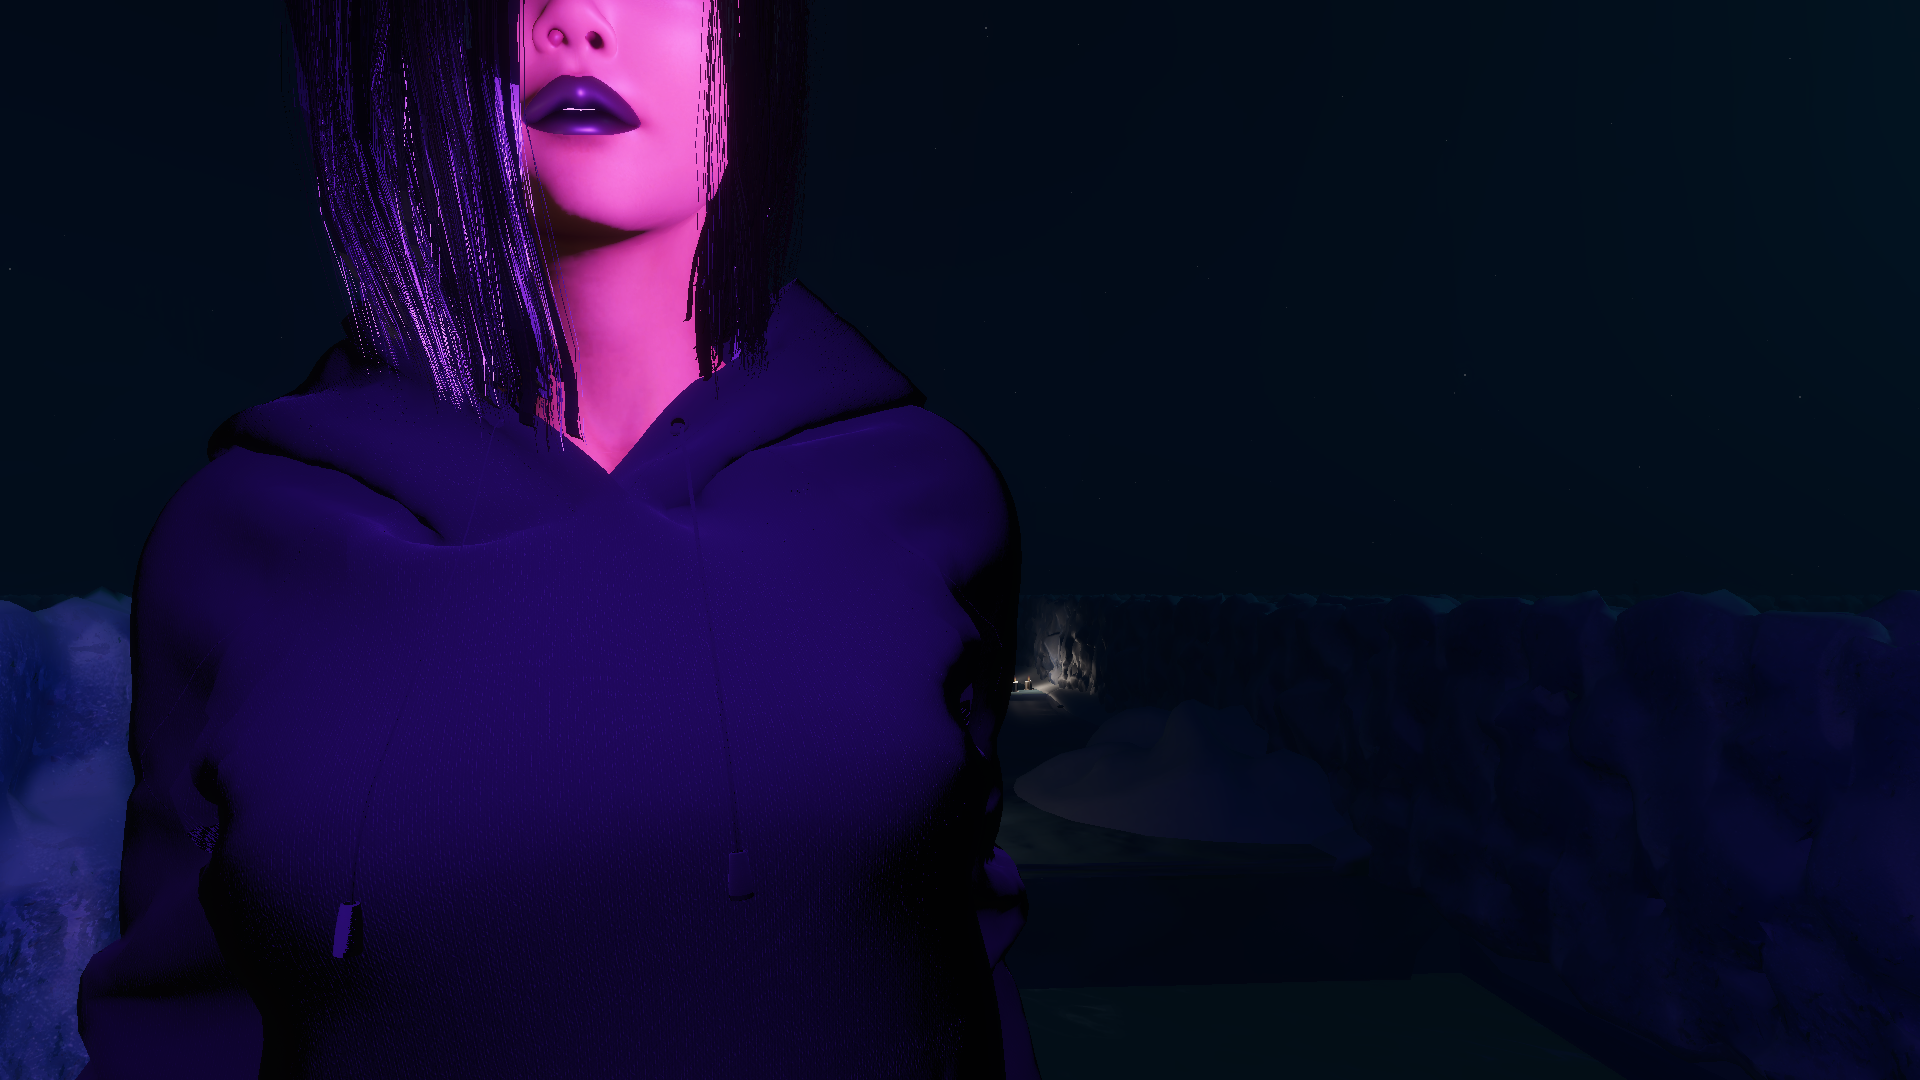
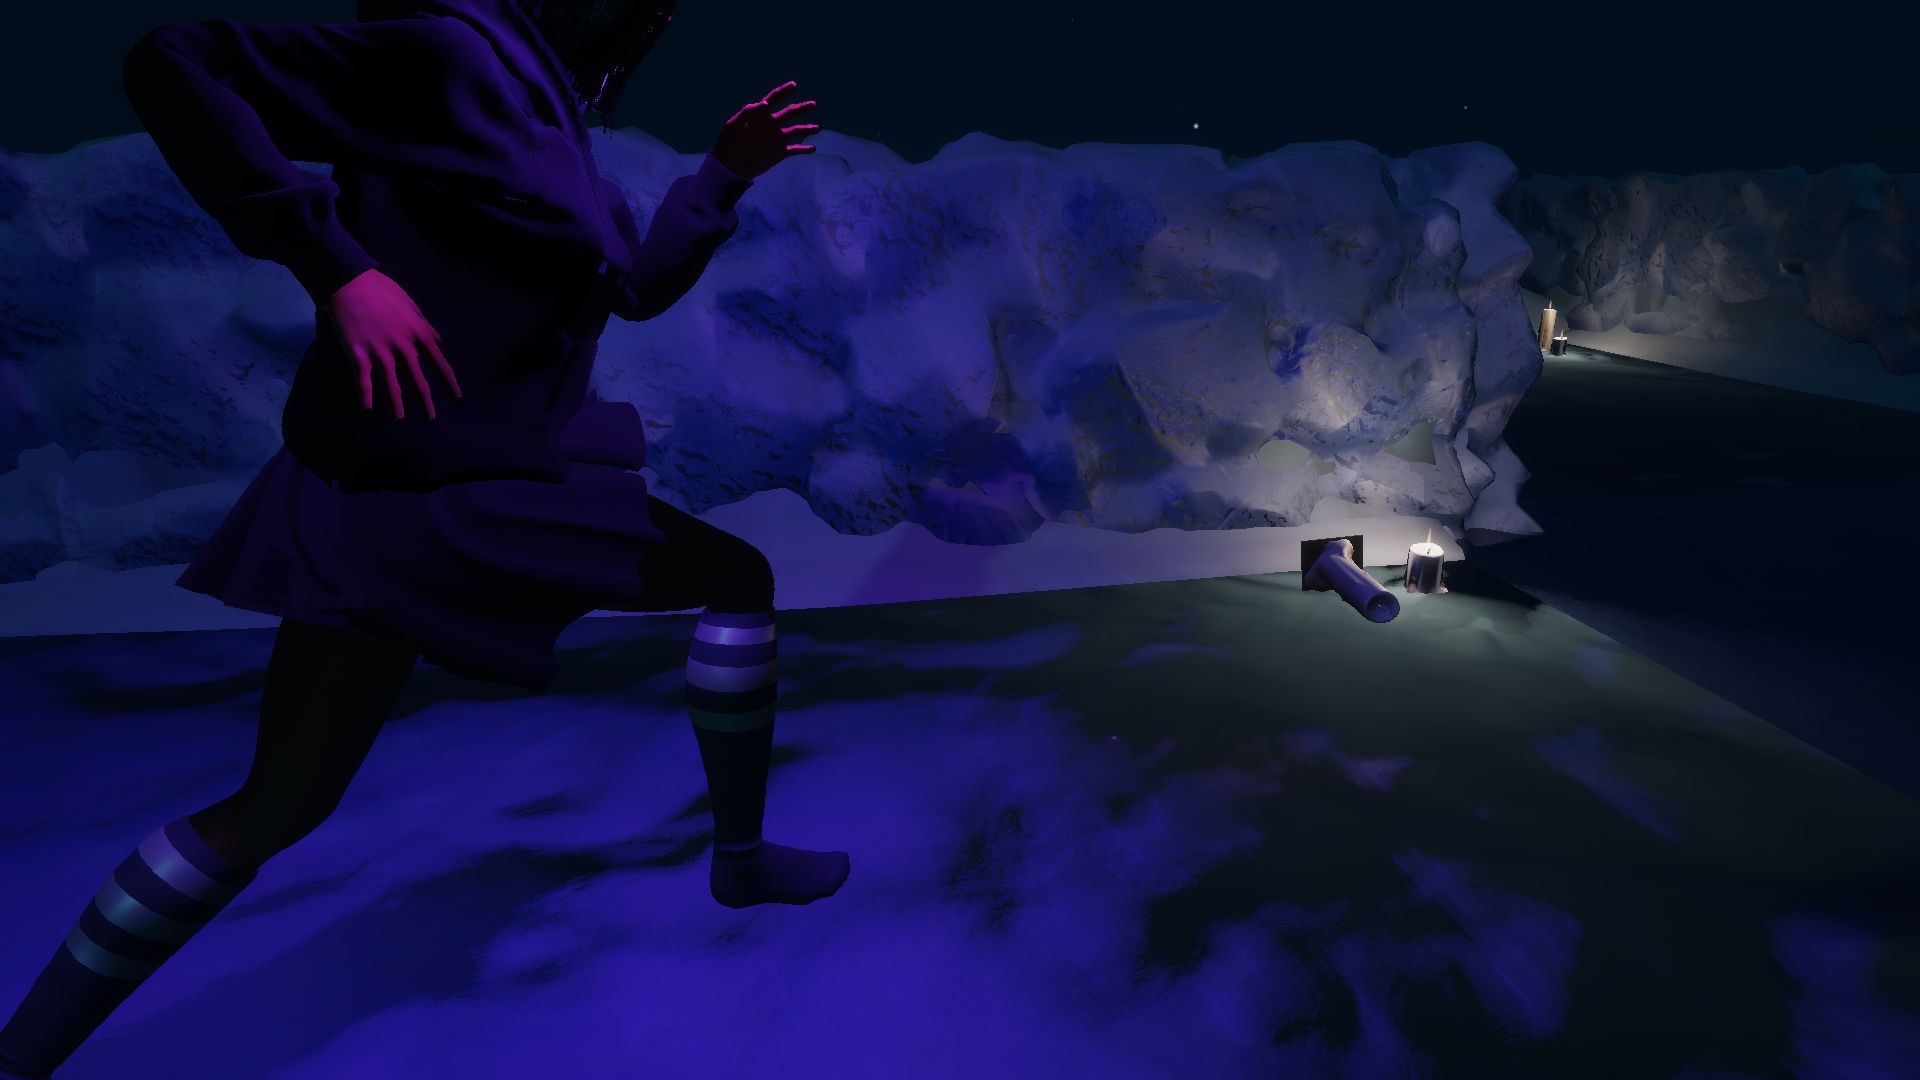
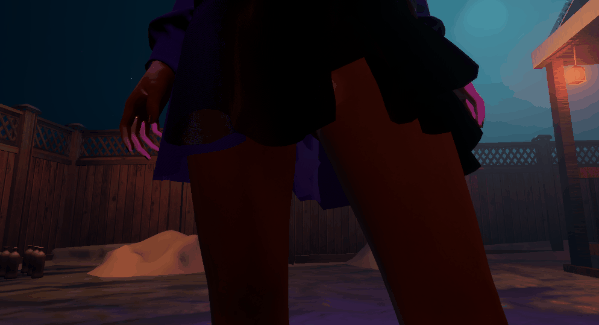
That’s our first in game screenshot of Daphne using our photo mode, not bad hey? What came next was script clean up, adding some global variables to track whether we’re in Photo Mode or not, so other scripts don’t freak the fuck out ( specifically the HFPS scripts, which started to scream wildly whenever we would go into Photo Mode, so I had to have them each bounce off the Update function when we were in photo mode, which meant going in and adding the globals script to each of them, under a snowoverride bool. Annoying). I also made sure to shut off our in-game UI and created a quick Photo Mode UI so it could feel a little better to use. I also added some angle ranges for different zoom levels, and exposed a bunch of the variables so there’s a ton of inspector control. It turned into a beefy script.

And here is the final system in action. Maybe not a day of massive progress, but we built a re-useable and ultimately pretty cool little tool that will add some interesting polish to the project. We can always go in and have some click through animation cycles to change Daphne’s pose if we wanted to, and some basic lighting and volume changes, but mostly I wanted it to be a raw capture for the moment, so that will have to be distant stretch goals. It does mean we should be able to get some cool action poses throughout development, which is exciting for sure.
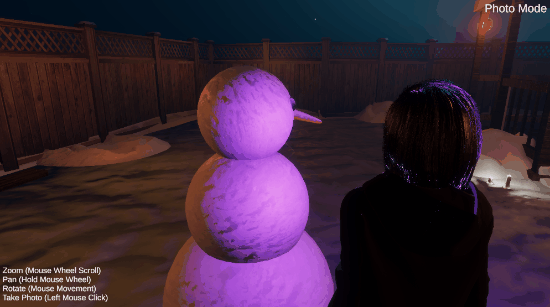
And here are some photos we took with our new shiny Photo Mode after a day of messing around with it. Like I said, a quick one today. And hopefully useful for anyone who wants to implement their own. It will mean in the future I'll need to polish animations up even more so they look good in photo mode, but that's certainly a stretch goal. You may need to wrestle it a bit to get a good photo right now, but honestly I've never met a photo mode in a game where I didnt have to fuck around with it a ton to get the photo I wanted, so hey, we're already there!